I wrote recently about the Quince Quarterly box I just subscribed to. This was not my first yarn subscription box, though. In 2019 I received the Darn Good Yarn Yarn of the Month subscription box for about 6 months. For $20 a box, you get a skein of yarn, a pattern designed for the monthly yarn, and some kind of accessory or notion. The pattern always has a knit option and a crochet option, and sometimes there are even two patterns for each craft.
The yarns are different from what you would find at most yarn companies. Darn Good Yarn primarily sources its yarn from disadvantaged communities, and most products are recycled in some way. For example, some of their yarns are made from recycled saris from India. They also have yarns made from uncommon fibers like banana fiber. This company has a great mission that I’m happy to support!
Finished Project #1
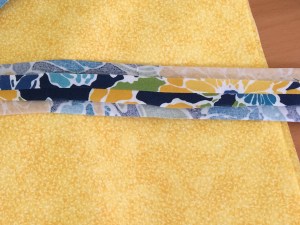
So what have I received in my subscription boxes, and what have I made? This month, I finally finished the Kahawai Cowl that I started making sometime in 2019. This project used some really nice Lace Weight Silk Yarn in color Sparkle Sandy Beach. The yarn is lightweight and mixes dyed silk with a skinny strand of sparkly material. It was overall nice to work with, but sometimes the fiber got caught on itself. The yarn nicely self-stripes, and the blue/green stripes contrast well with the sandy brown stripes.

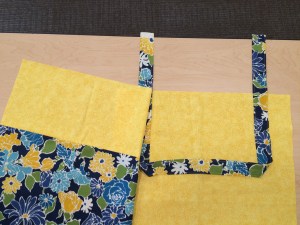
The cowl is knit in the round and consists of a large cable on a background of reverse stockinette, followed by regular stockinette. After knitting the full length of the tube, the ends are seamed together. I did kind of a hybrid join, something between mattress stitch and kitchener stitch. Since I did not bind off the final edge before seaming but did not do a provisional cast-on, I couldn’t quite do regular kitchener stitch. The join is hardly visible, though (see the middle of the photo below), so I’m happy with how it turned out! This box also included a set of safety pin stitch markers, which I find useful for all kinds of projects.

Finished Project #2

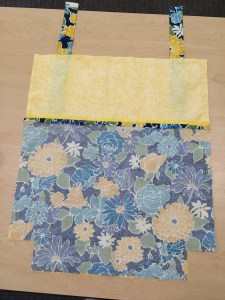
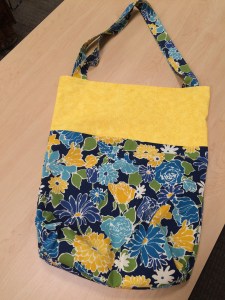
The other project I finished is a little crocheted bag with a drawstring (I can’t find the pattern, unfortunately). It is made from Fancy Twist Silk Yarn in color Pink Flamingo, a bulky recycled silk yarn. This bag is a nice size for a child’s treasures, or maybe it could be a dice bag for role playing games. If I’m remembering correctly, the accessory this month was a pair of straight needles and a crochet hook, in an appropriate size for the pattern (US8).
Unfinished Project #1

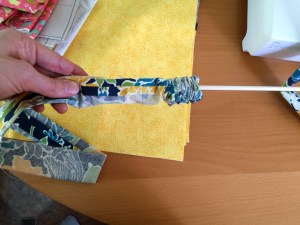
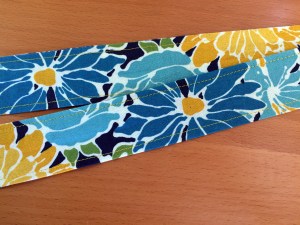
This box featured a nice colorful yarn: Darn Good Twist Worsted Weight Silk Yarn, which is made from recycled silk, in color Machu Picchu. I worked on the knit pattern a few months ago, but am only about halfway done. It is an I-cord necklace made with US8 double-pointed needles. The box also included a 3-pack of silver buttons, which could look nice as an accent on a cowl or headband.
Unfinished Project #2
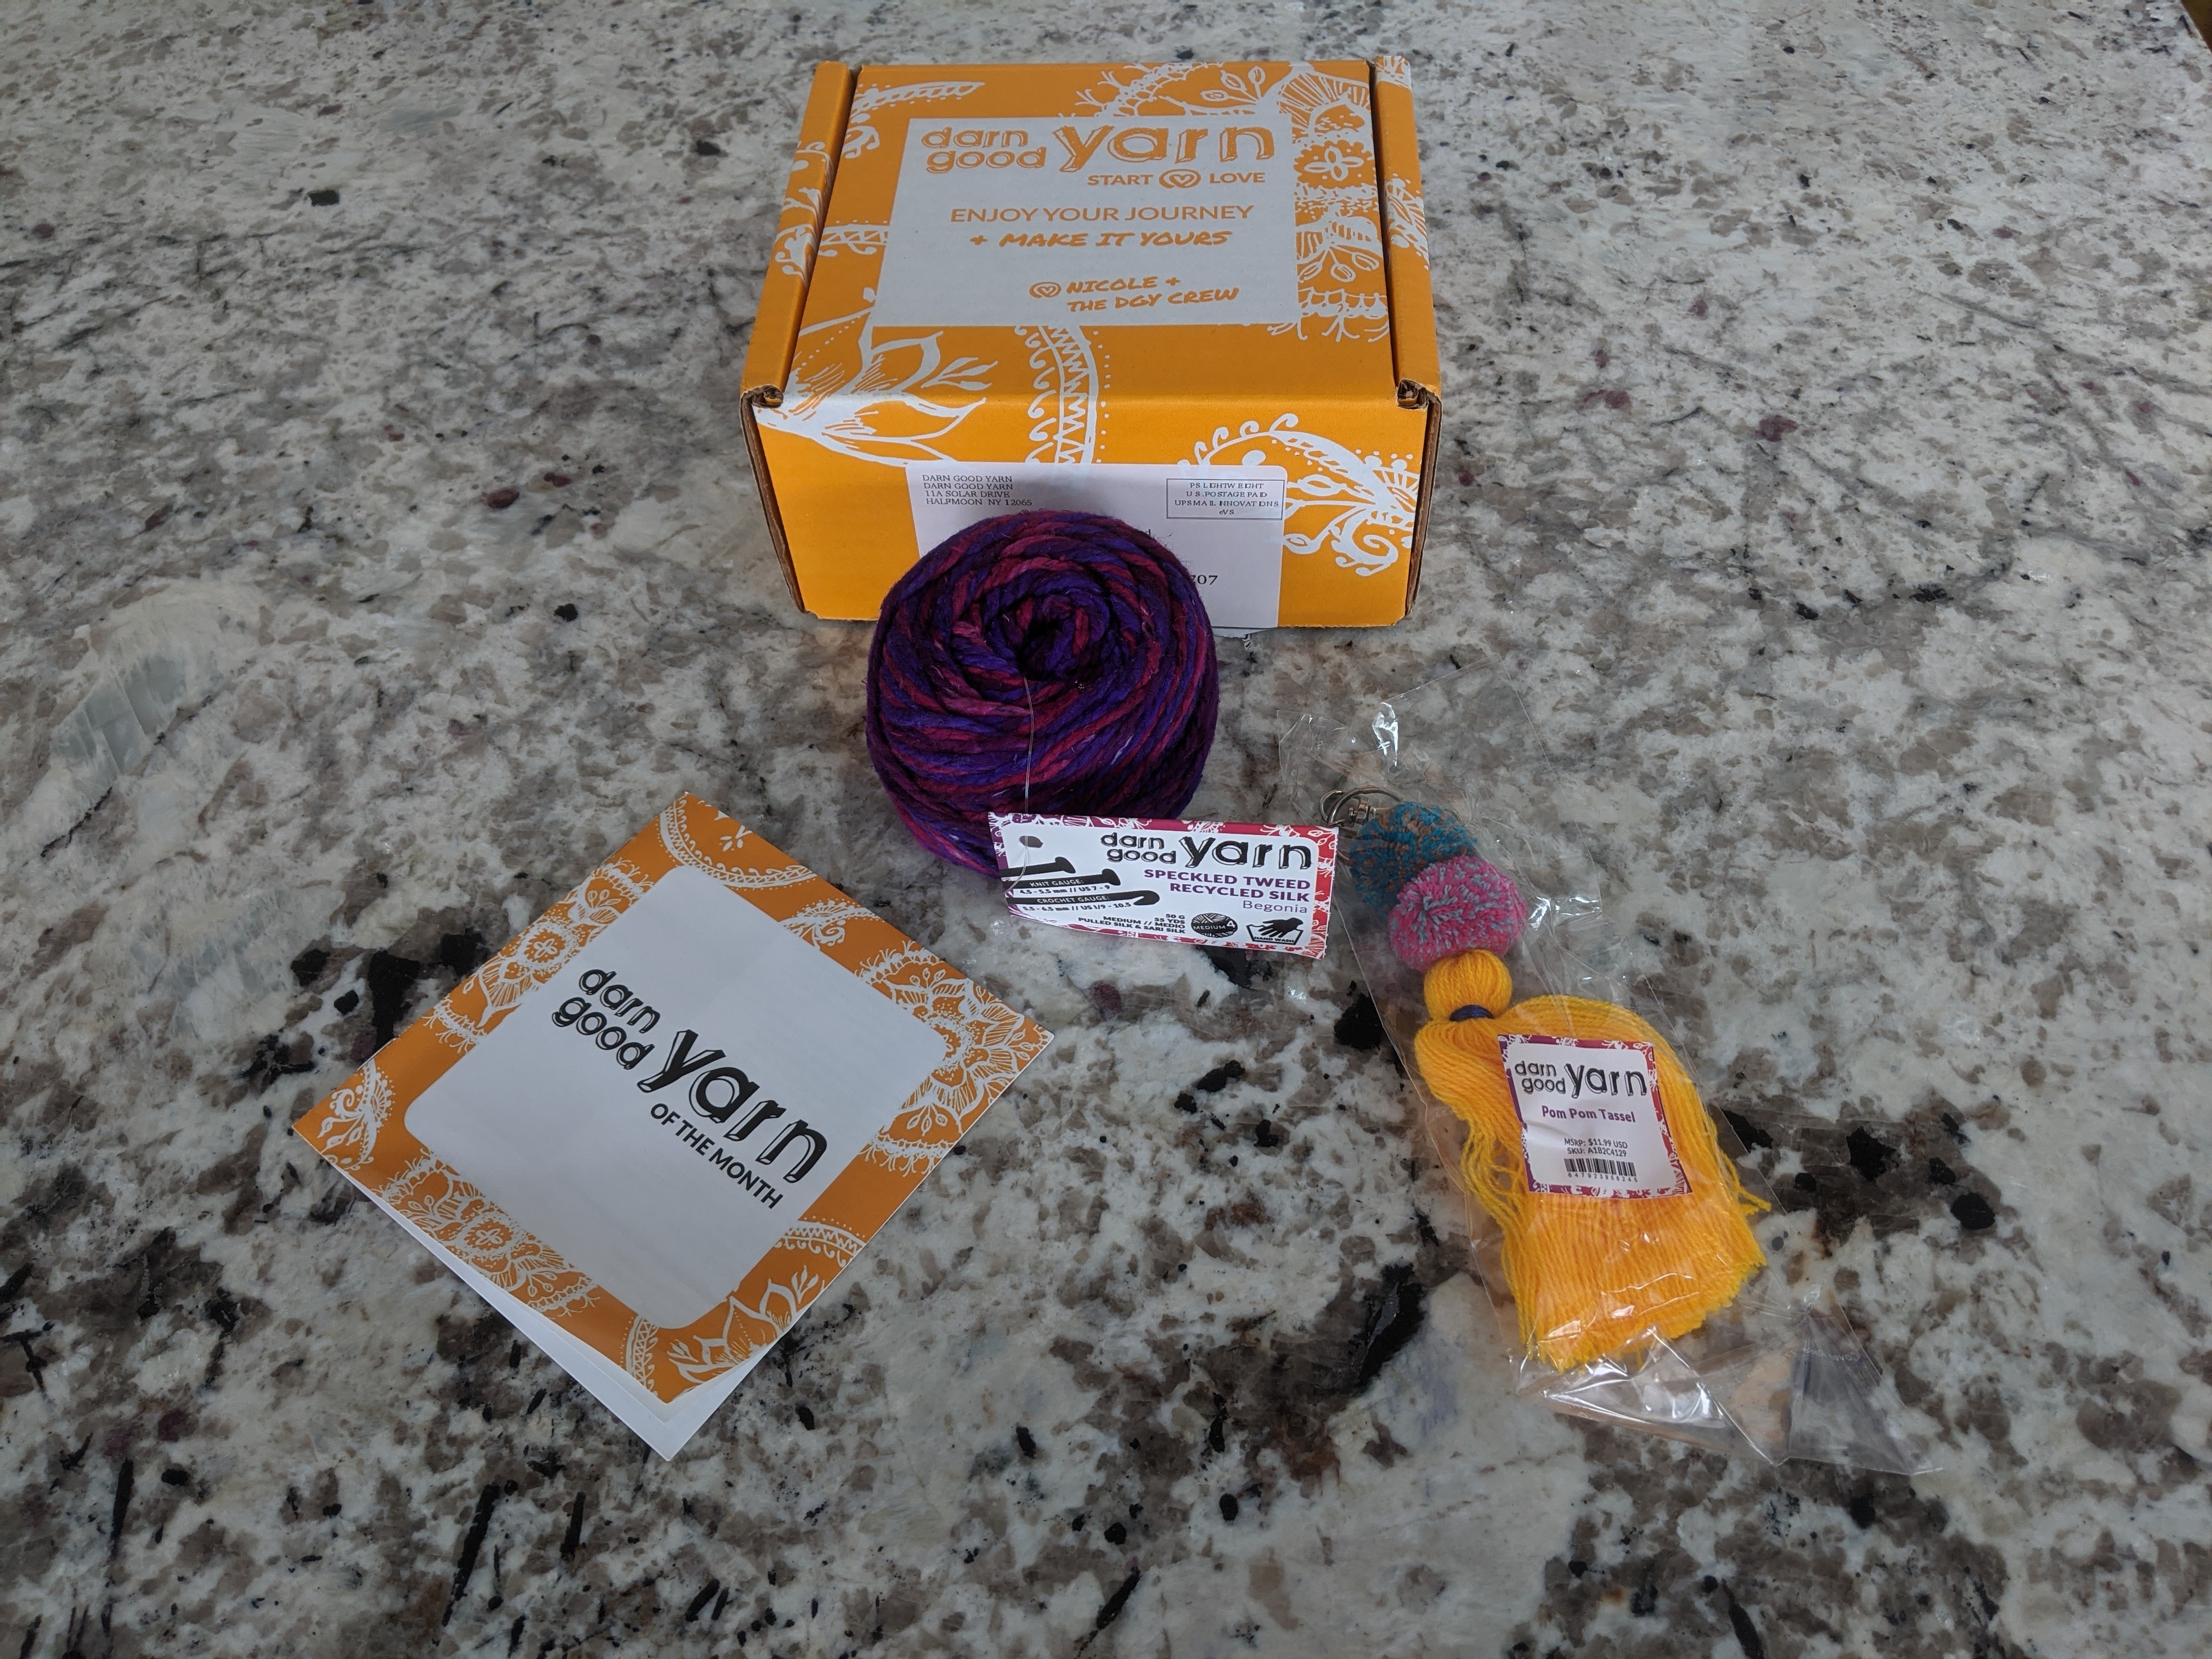
This box includes Speckled Tweed Recycled Silk Yarn in color Begonia. The two pattern options are a bracelet and a cowl. I haven’t yet decided which project to make…maybe I’ll try something completely different! The accessory gift is a pom pom tassel, which would be a cute embellishment for a bag.
Unfinished Project #3

Although the tag on the yarn in this image says it’s super bulky, it is really a Worsted Weight in color Catskill Fireworks (there was a slight mix-up in the inventory). The pattern is a bottle coozie and looks pretty fast to knit. The accessory is some hand salve, which is really helpful in winter months to soften hands.
My Take
This is a nice subscription box for trying unique yarns and small projects. I found that several of the recommended patterns were things I was not so excited to make, so I think that is why they have languished on my shelf. My desire to knit was also in a lull while I was subscribing, so that also may have been a factor. I do really like the company and would consider subscribing again in the future. If you’d like to subscribe, you can sign up here.