Buying Yarn From Goodwill

Where do you buy your yarn? I have a few favorite online shops (Brooklyn Tweed, Quince and Co., and Modern Daily Knitting), and of course it’s always nice to support local yarn shops. I’ve also seen yarn in thrift stores before, but it was never quite what I was looking for. Thrift stores tend to be hit or miss on most items, but especially for yarn since it depends completely on what donations they have received. I recently learned of a way around this: Goodwill has online auctions!

You can find auctions for all kinds of goods at shopgoodwill.com. Right at the top of the page you can search for whatever you’re looking for, and you get a list of current auctions. If you search for yarn, there are typically at least 20 auctions going on at a time, from Goodwill branches all over the U.S. Most of these auctions are for bulk quantities of yarn, and they tend to be a grab bag of different yarns. The majority I’ve seen consist mostly of low-cost acrylic yarns. Some lots include high-quality yarns made from natural fibers, which I strongly prefer. Whatever you’re looking for, you have the opportunity to get a great deal on a large quantity of yarn.

I think you know where this is going. Yes, I bid on an auction, and I won! My auction was titled “Assorted Cashmerino Aran Silk and More Yarn Skeins”. Hmm, ok, I am familiar with Debbie Bliss Cashmerino. So I browsed the pictures for the auction to see what else was included. I could make out a few skeins of Baby Cashmerino, a couple balls of KnitPicks sock yarn, 17 balls of Rowan Silk Aran (which I looked up and discovered is discontinued), a bunch of balls with no label, and the best part: at least 7 skeins of Brooklyn Tweed Shelter!The Shelter was enough to convince me to bid. I won the auction at $142, which seemed reasonable for the Shelter and Silk Aran alone. Read on to see what was in the box!

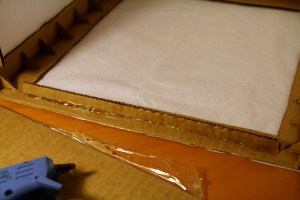
Here’s what the box looked like when I opened it up. Mmm, look at all that yarn!

First, there were five balls of Baby Cashmerino.

Next there were two balls of KnitPicks Felici Sport. These would make some nice socks. (And it’s machine washable!)

Then an assortment of unlabeled, partially used balls. I have no idea what these are, but the way they are wound makes me think they could be Rowan. I wonder what project they were used for!

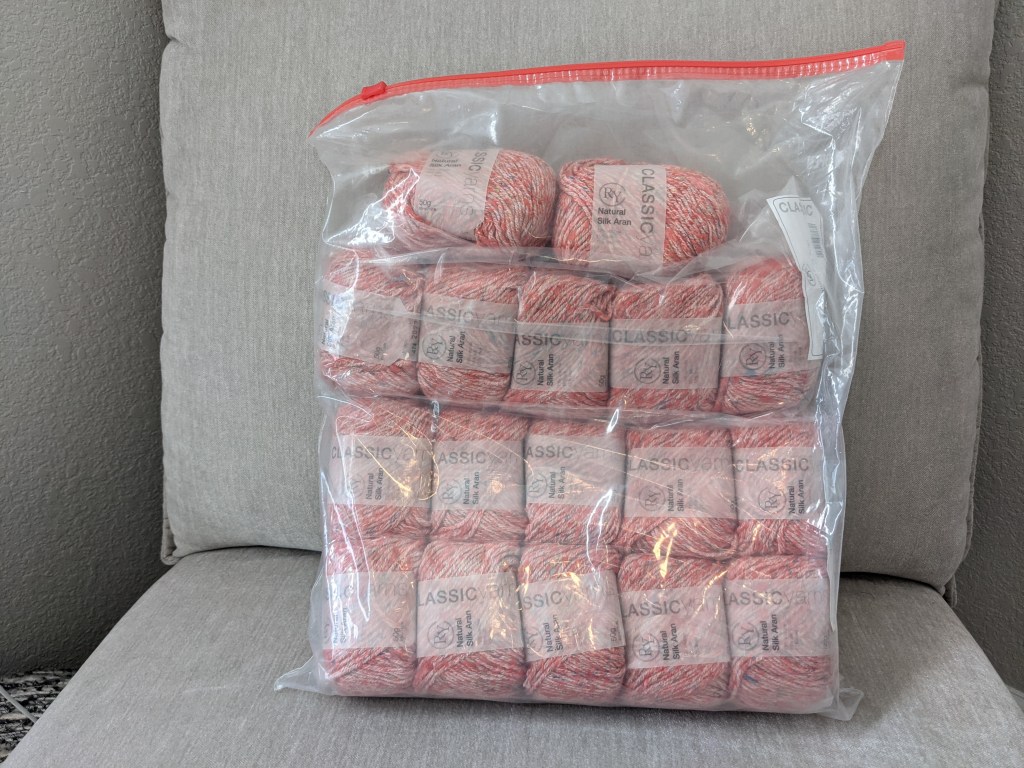
These are definitely Rowan. As I guessed from the auction pictures, there are 17 balls of Silk Aran. This will be enough for a great project…maybe a sweater?

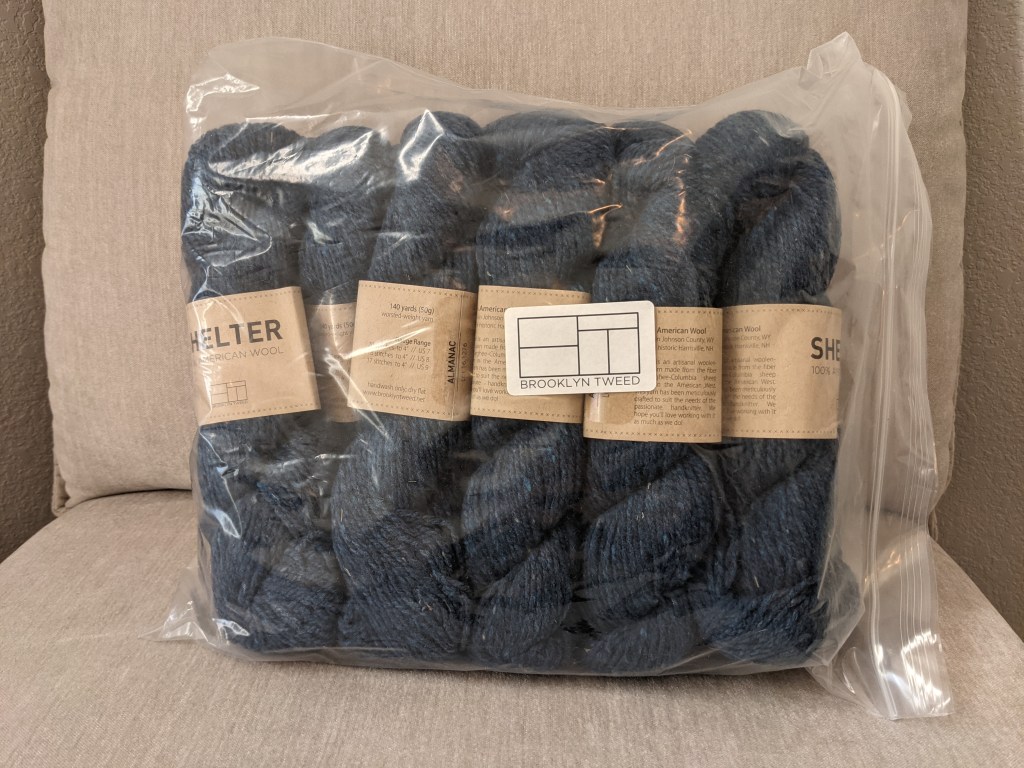
And finally, I was thrilled to discover that there were actually 11 skeins of Brooklyn Tweed Shelter! This is enough to make a gorgeous cardigan I have had my eye on for a while. And this much Shelter by itself would cost more than I paid for the whole lot of yarn.

Overall I think Goodwill can be a great place to buy yarn, if you know what you’re looking for. It also helps to be patient, because new auctions are added all the time. Have you ever bought yarn from an auction? I would love to see what you found.

I Made a Light Box!

Ever since I started knitting, I’ve been a little disappointed in the pictures  I take of my work. I spend a lot of time creating my pieces, only to badly photograph them with my iPhone on backgrounds with poor contrast. My photos really don’t do the knitting justice.

I’m currently taking a digital photography class, where I’m learning to use my husband’s Canon DSLR. Knowing some camera basics will definitely make a difference, but one thing I’ve learned in my class is that the composition of the photograph really matters. It’s important to make sure there is adequate contrast between the background surface and the object of interest. Plus, (main rule of photography) it’s all about the lighting!

When I was thinking about how to take better project photos, I got inspired by this great tutorial by Flax & Twine (thanks for the inspiration!). I decided it was time to create my own light box to serve as a nice backdrop for photographing my knitting projects. I basically followed the tutorial, with a couple additions to make the box more stable.

First, I gathered my supplies. (As soon as I got started I realized duct tape was not the right tool for the job, and replaced it with scotch tape.)

IMG_3955

Next, I chopped off the flaps with my utility knife.

IMG_3964 IMG_3965

Then I drew some lines on the sides to mark the pieces I was going to remove. I wanted to make cutouts on three sides – top, left, and right. My box was 12″x12″x12″, and I made the lines 1″ from each side.

IMG_3967

After cutting out the first of the squares, I was a bit worried about the edges staying strong enough, so I cut up some little triangles of cardboard (3/4″ on a side) to make a support on each weak edge. I hot glued eight of them onto each edge.

IMG_3971

Here’s what the box looked like with all three sides cut out:

IMG_3974

The next step was to add white poster board to the inside of the box. This is the backdrop for the photos, so it’s important to make sure it is smooth and clean. I cut the poster board a bit narrower than the width of the box and long enough that it could cover the back and the bottom with a smooth curve in between. I secured the edges of the poster board to the box with double stick tape.

IMG_3979

Next, I cut white tissue paper to cover the open sides. I used two layers to start out with. It’s easy to add or remove layers to get the right amount of light into the box.

IMG_3985

At this point, I thought I was done, but I realized there was still a serious structural stability issue. The unsupported strips of cardboard around the front opening were very flexible, and I worried that the box wouldn’t be strong enough. So I decided to shore it up with extra strips of cardboard to prevent them from bending. (Engineering note:  I made sure to cut and orient the stabilizing strips in the direction that would best resist bending.)

IMG_3992

With all the construction finally complete, I had to try it out! I set up a few lamps to illuminate the box. Clearly the room was too dark for good photos, but I got a few decent ones inside the box.

IMG_4007

This is some great yarn I bought from Brooklyn Tweed (and used to make the cowl featured in my blog header).

IMG_3990

And my trusty scissors:

IMG_3987

I’m looking forward to using my snazzy new light box to help make my knitting photos beautiful! I guarantee better photos to come in future project posts.