
I am very excited to share my latest completed project, the Daytripper Cardigan (pattern on Ravelry, my project on Ravelry). The pattern was released last month as part of the Modern Daily Knitting Field Guide No. 17: Lopi, which focuses on the Icelandic wool yarn Lettlopi. When I received my copy of the Field Guide, I thought all the patterns looked fun, but I was particularly taken with the beautiful yoke of the Daytripper. I quickly chose my Lettlopi colors: Dark Gray for the main color, Heaven Blue Heather for the ribbing, and Ash, Black Heather, Pink Heather, Royal Fuchsia, and Lapis Blue Heather for the remaining contrast colors.

The cardigan came together quickly, as advertised. The yarn is worsted weight, but the pattern calls for US 10 needles, a couple sizes larger than would typically be used. This results in a fast knit and a lightweight fabric. My swatch taught me that I needed to use size US 10.5 needles to make gauge. I decided not to increase the needle size for the ribbing, sticking with the pattern-recommended US 9.
Daytripper is worked in the round from the top down. There is a burst of colorwork throughout the yoke, with simple M1 increases embedded in the pattern. There are two sections of short row shaping for the back using the German short row method. I had not used this technique before, but I found it easy to do and I liked the resulting look better than the wrap-and-turn method.

After the yoke is done, the sleeve stitches are held while the body is worked straight in stockinette. This part was really fast for me because it just consisted of knit stitches around until it was long enough. Then there is a short colorwork section to finish off the body. The sleeves are picked up and worked in the round, with simple decrease shaping every couple inches. The sleeves end with a colorwork border to match the body.
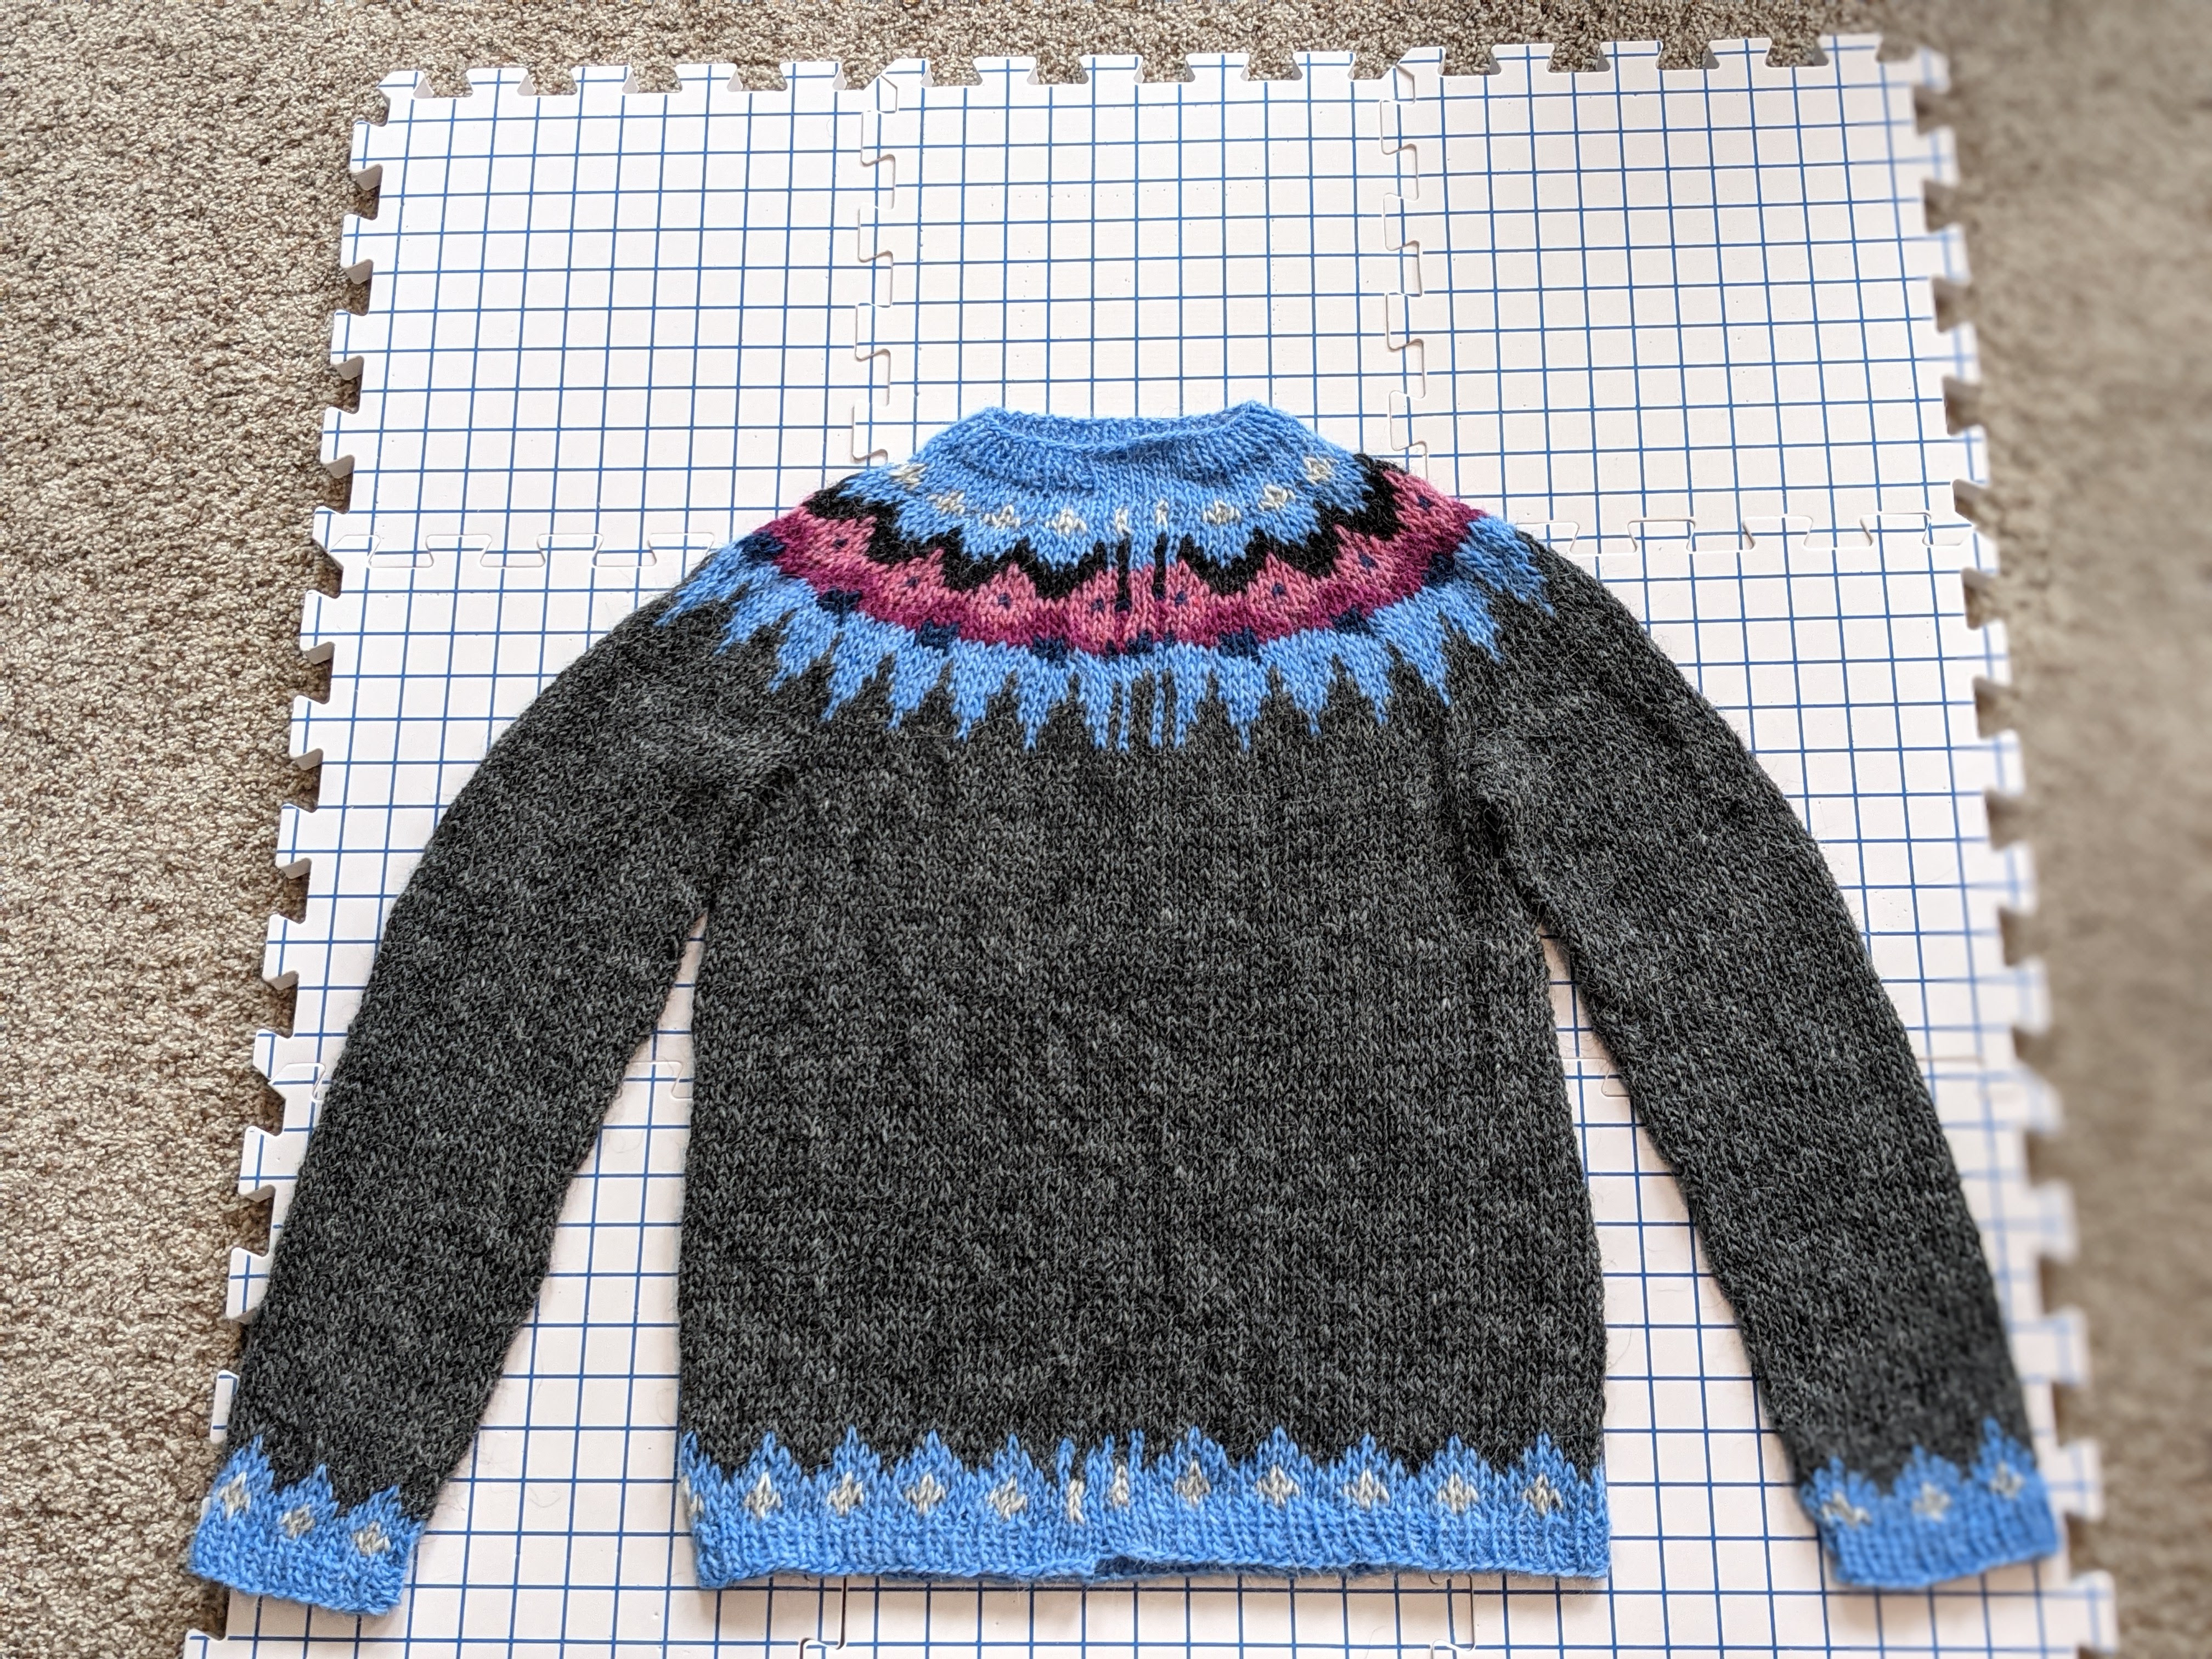
I’ve left out the best detail until now. To turn this into a cardigan, you have to cut a steek! The steek consists of six extra knit stitches in the center front of each round. (See the stitches that look kind of funky in the photo above? That’s the steek section.) The steek stitches need to be secured, which you can do by hand stitching, machine stitching, or the method I used, slip stitch crochet. Then you cut between the two middle steek stitches. I used gray Jamieson & Smith 2-ply jumper weight wool to secure my steek.

After cutting the steek, the button bands are picked up and worked in 2×2 ribbing. Since the length of the cardigan didn’t exactly match the pattern specification, I made a little 2×2 ribbing swatch to figure out how many stitches to pick up. It needed to be a multiple of 4, so I ended up with 92 stitches, picking up about 7 out of every 8 stitches. I applied 8 buttons, evenly spaced, and used a simple yo, k2tog method for the buttonholes (as specified in the pattern).

After the button bands were done, all that was left was to sew on the buttons and sew down the steek edge. I used some rustic-looking buttons that I found at Michael’s.
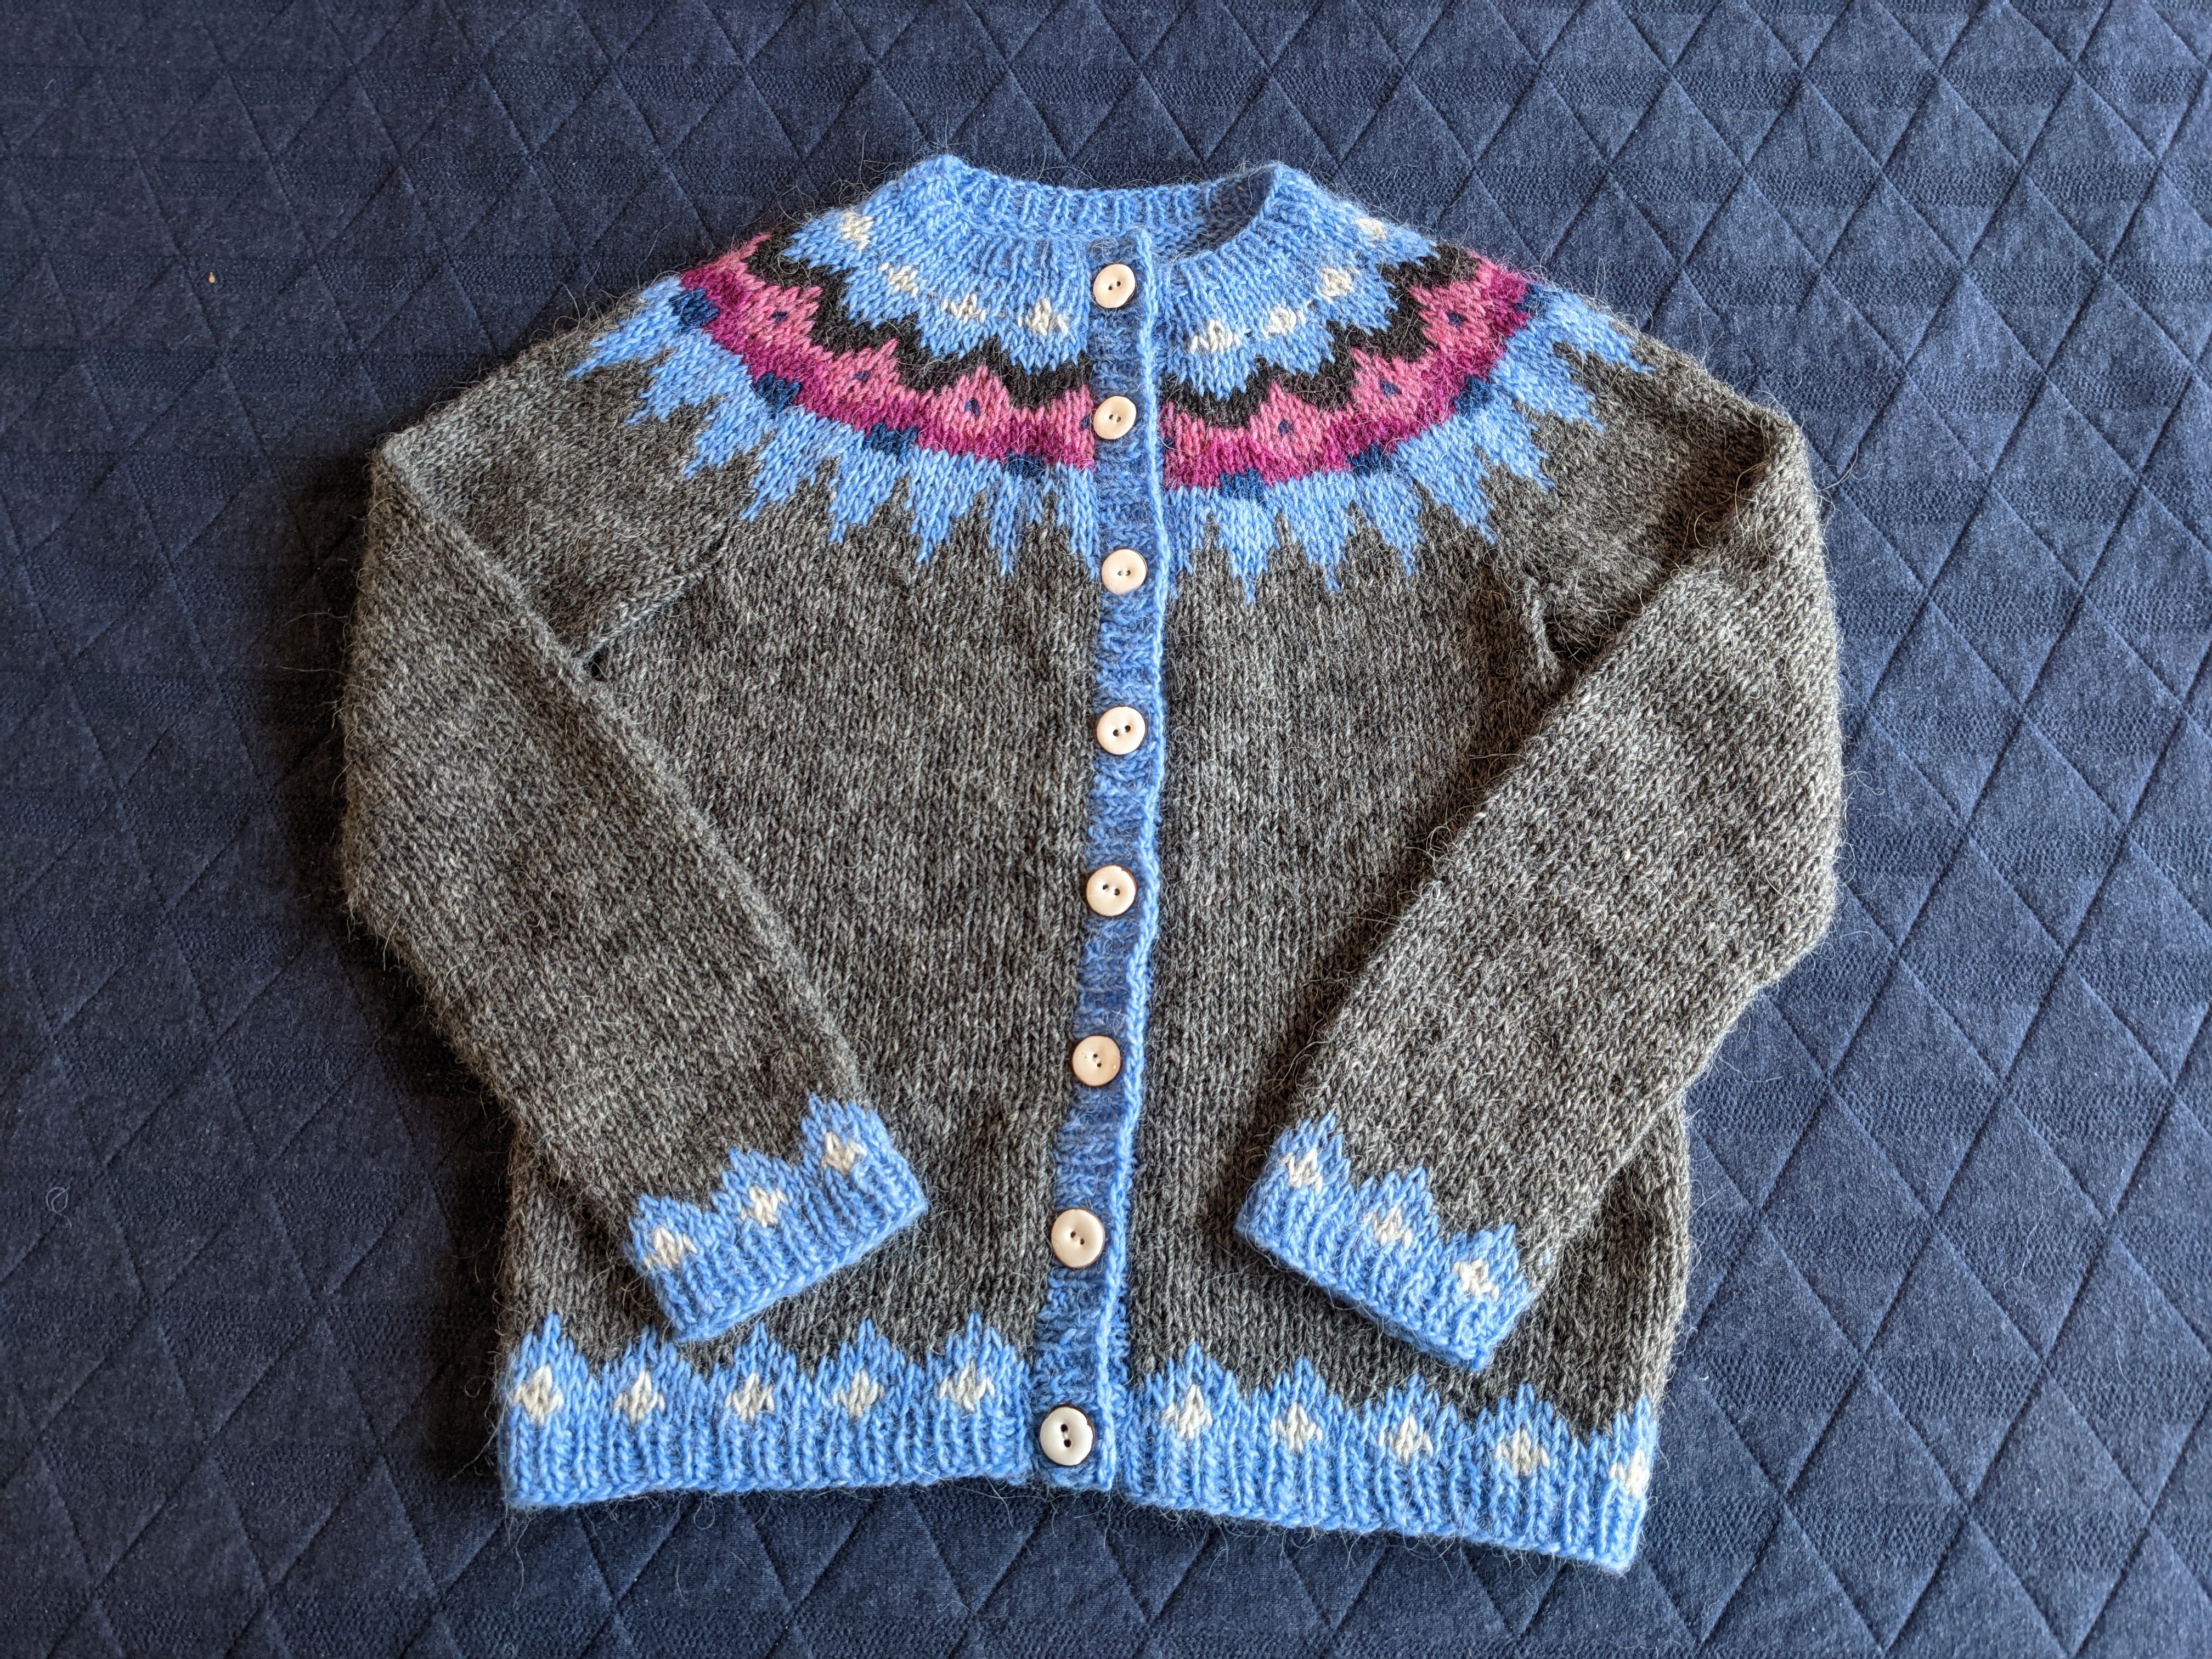
I’m really happy with how this turned out. I’ve worn it a couple times already, and it is cozy and hardy without being too heavy. I highly recommend this pattern for your first steek, first colorwork circular yoke, and first project with Lettlopi yarn. I love how easy it is to customize the colors of this pattern; I can imagine making several more as gifts!


2 thoughts on “Daytripper Cardigan”